This week, I finally managed to get main bearings sized up and ordered. This means I have nearly everything I need to complete the short block assembly, at least as far as the rotating assembly. And so, I began putting together pistons with connecting rods.
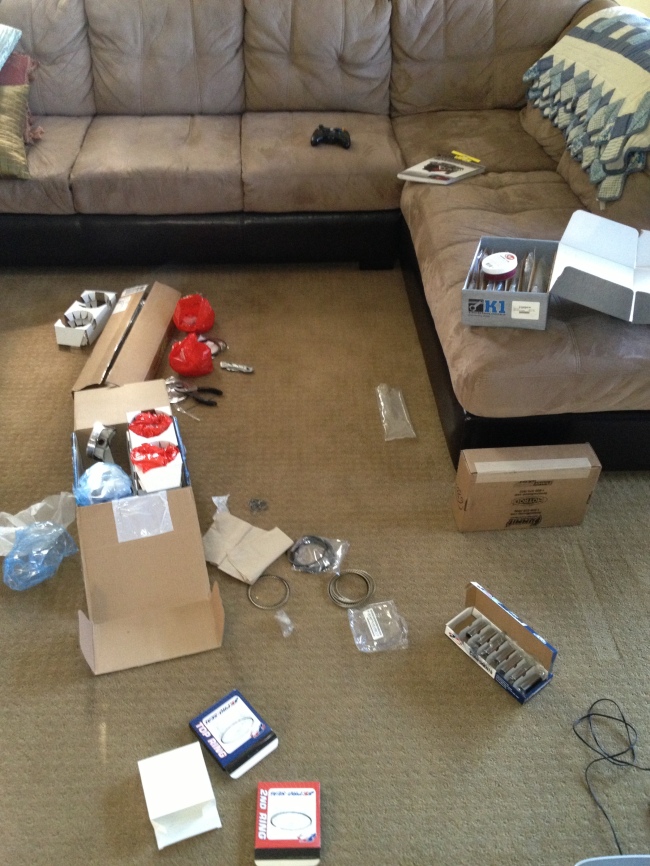
Engine construction site alpha:
Putting the clips that hold the wrist pins in was proving to be difficult and painful. They are wire locks, essentially circlips without the bend that allow pliers to compress them. After 2 hours of experimentation, I discovered the best way to install them was to bend them sideways to look like a spring coil, and then lever them into position using a jeweler’s screwdriver.
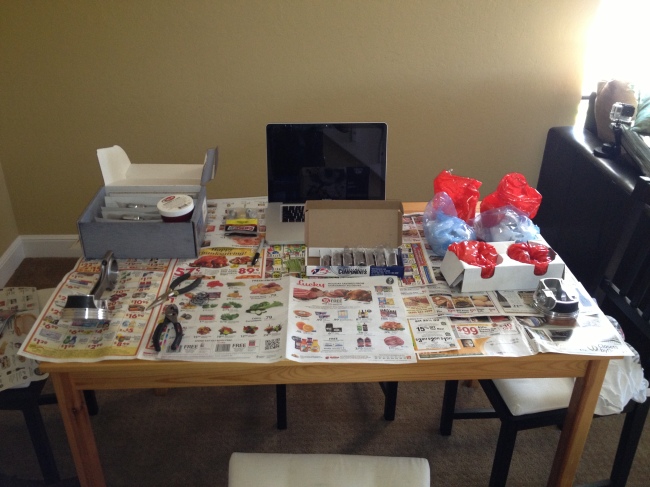
At this point I moved on to engine construction site bravo:
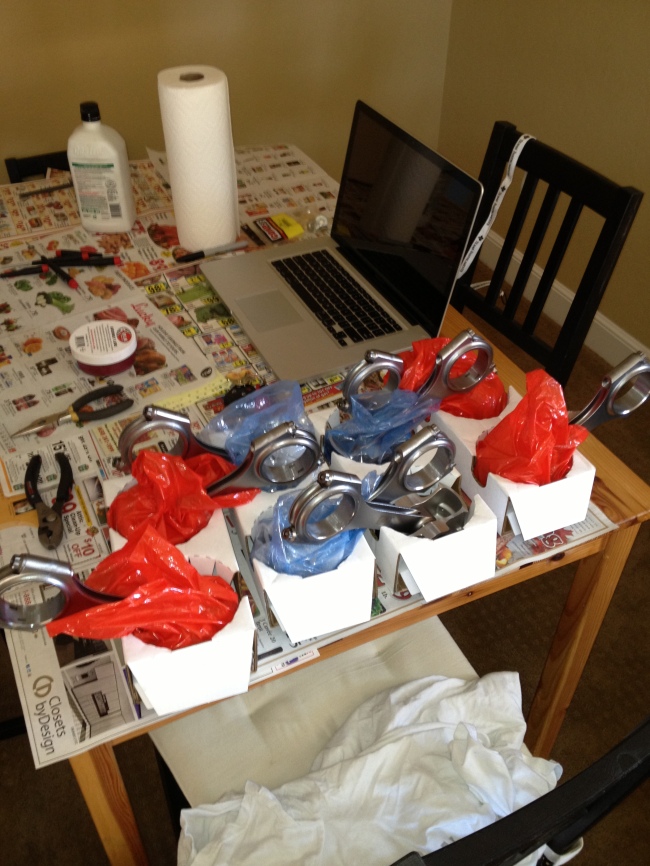
Once I figured the wire locks out, it took an additional hour to assemble all 8 pistons with connecting rods(no piston rings yet, since the wrist pins would not be able to be slid into position with the rings in place).
The next step from here, since I could not easily turn the block over by myself, was to start filing piston rings to have the piston ring gaps sized properly.
So on to construction site charlie:
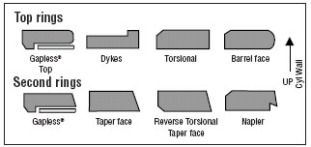
I spent some time checking the gaps on the oil ring support rail, the oil rings and oil spacer, which were all gapped properly straight out of the box for cylinder 1. Next up was the second compression ring, since I need to work from the bottom of the piston up. The second rings I have are napier rings, and you can see what that means here in this image I borrowed from Google:
The second rings are also fairly soft and workable, and so I was able to file the ends to make the proper gap within about 30 minutes, checking very frequently as I’d never done this before.
The top rings on the other hand, are extremely tough and nearly impossible to work with a hand file. They are the “barrel face” design from the chart. I ended up having to use an air powered rotary tool with a small grinding wheel to make any noticeable changes, and even then it ended up taking me an additional hour to get the top ring gapped properly for cylinder number one. I called it a night for Saturday at that point.
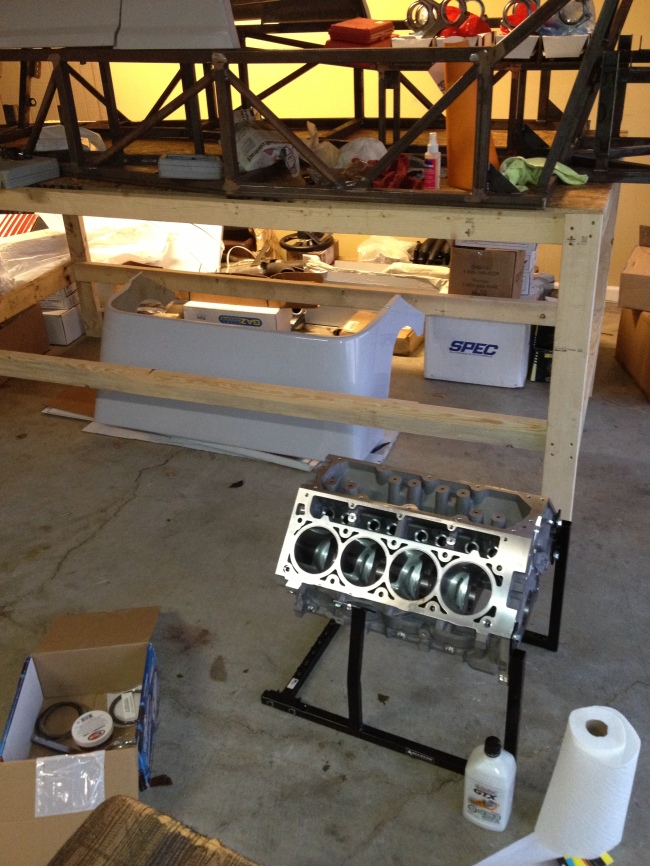
On Sunday I went looking for a ring file that would let me cut the rings down a bit faster, but came up empty. What I did find was a well priced engine stand, and so with some help I got the engine block mounted on a taller stand that can rotate the engine easily. Since continuing to work on the pistons would be inefficient until I get a ring file, we decided to put the crank into the block instead.
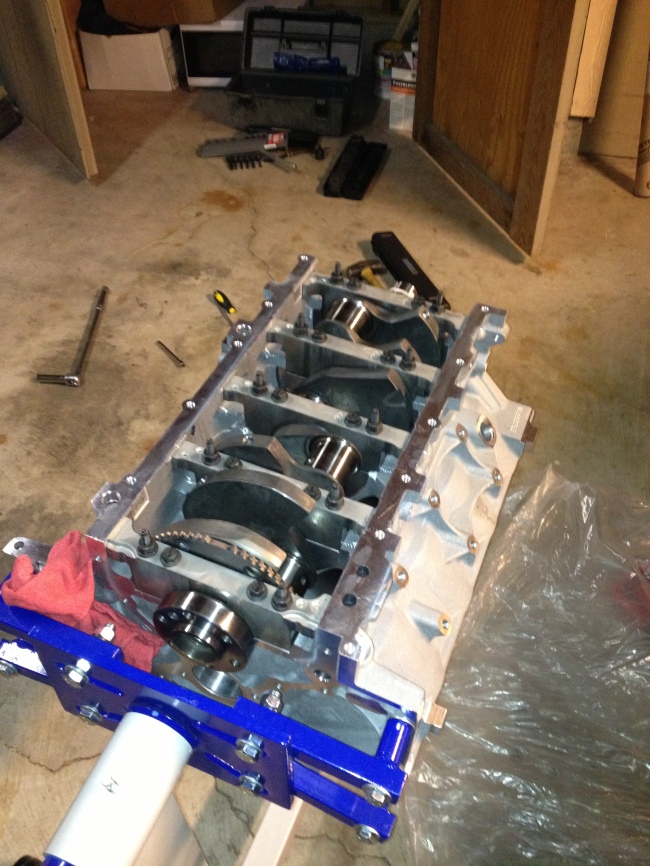
Scott, Var and I spent some time removing the main caps and cleaning up the bearing lands and threads. Then, we installed the main bearings, crankshaft, and reinstalled and torqued the main caps(mostly):
Since it turns out I’m missing the M8 bolts that go in the side of the main caps, we’re done for now. Fortunately those can be installed last, and torqued last, so we can let it sit as it is for now. Before I can continue I’ll need to get those bolts and torque them down, and then I can move back on to fitting the piston rings, and finally the pistons themselves into the engine block.
Overall, some of the tasks I thought would be fairly simple ended up being a lot of tedious work, and I expect that will continue. On the other hand, I’m happy to have been able to make some progress on the build. Looking forward to getting to put the rest of the rotating assembly together in the block, before I make more decisions about new parts.
