Over last weekend, I tried again to wrap one of the wheel covers with a vinyl wrap. I once again got frustrated, turning the wrap into a ball of orange and adhesive and throwing it away, and decided to try my hand at painting! So I went out and bought a spray gun, some paint, a “satin” clear coat, and a whole bunch of plastic and masking tape.
I started by making a tent in my garage to spray panels in:
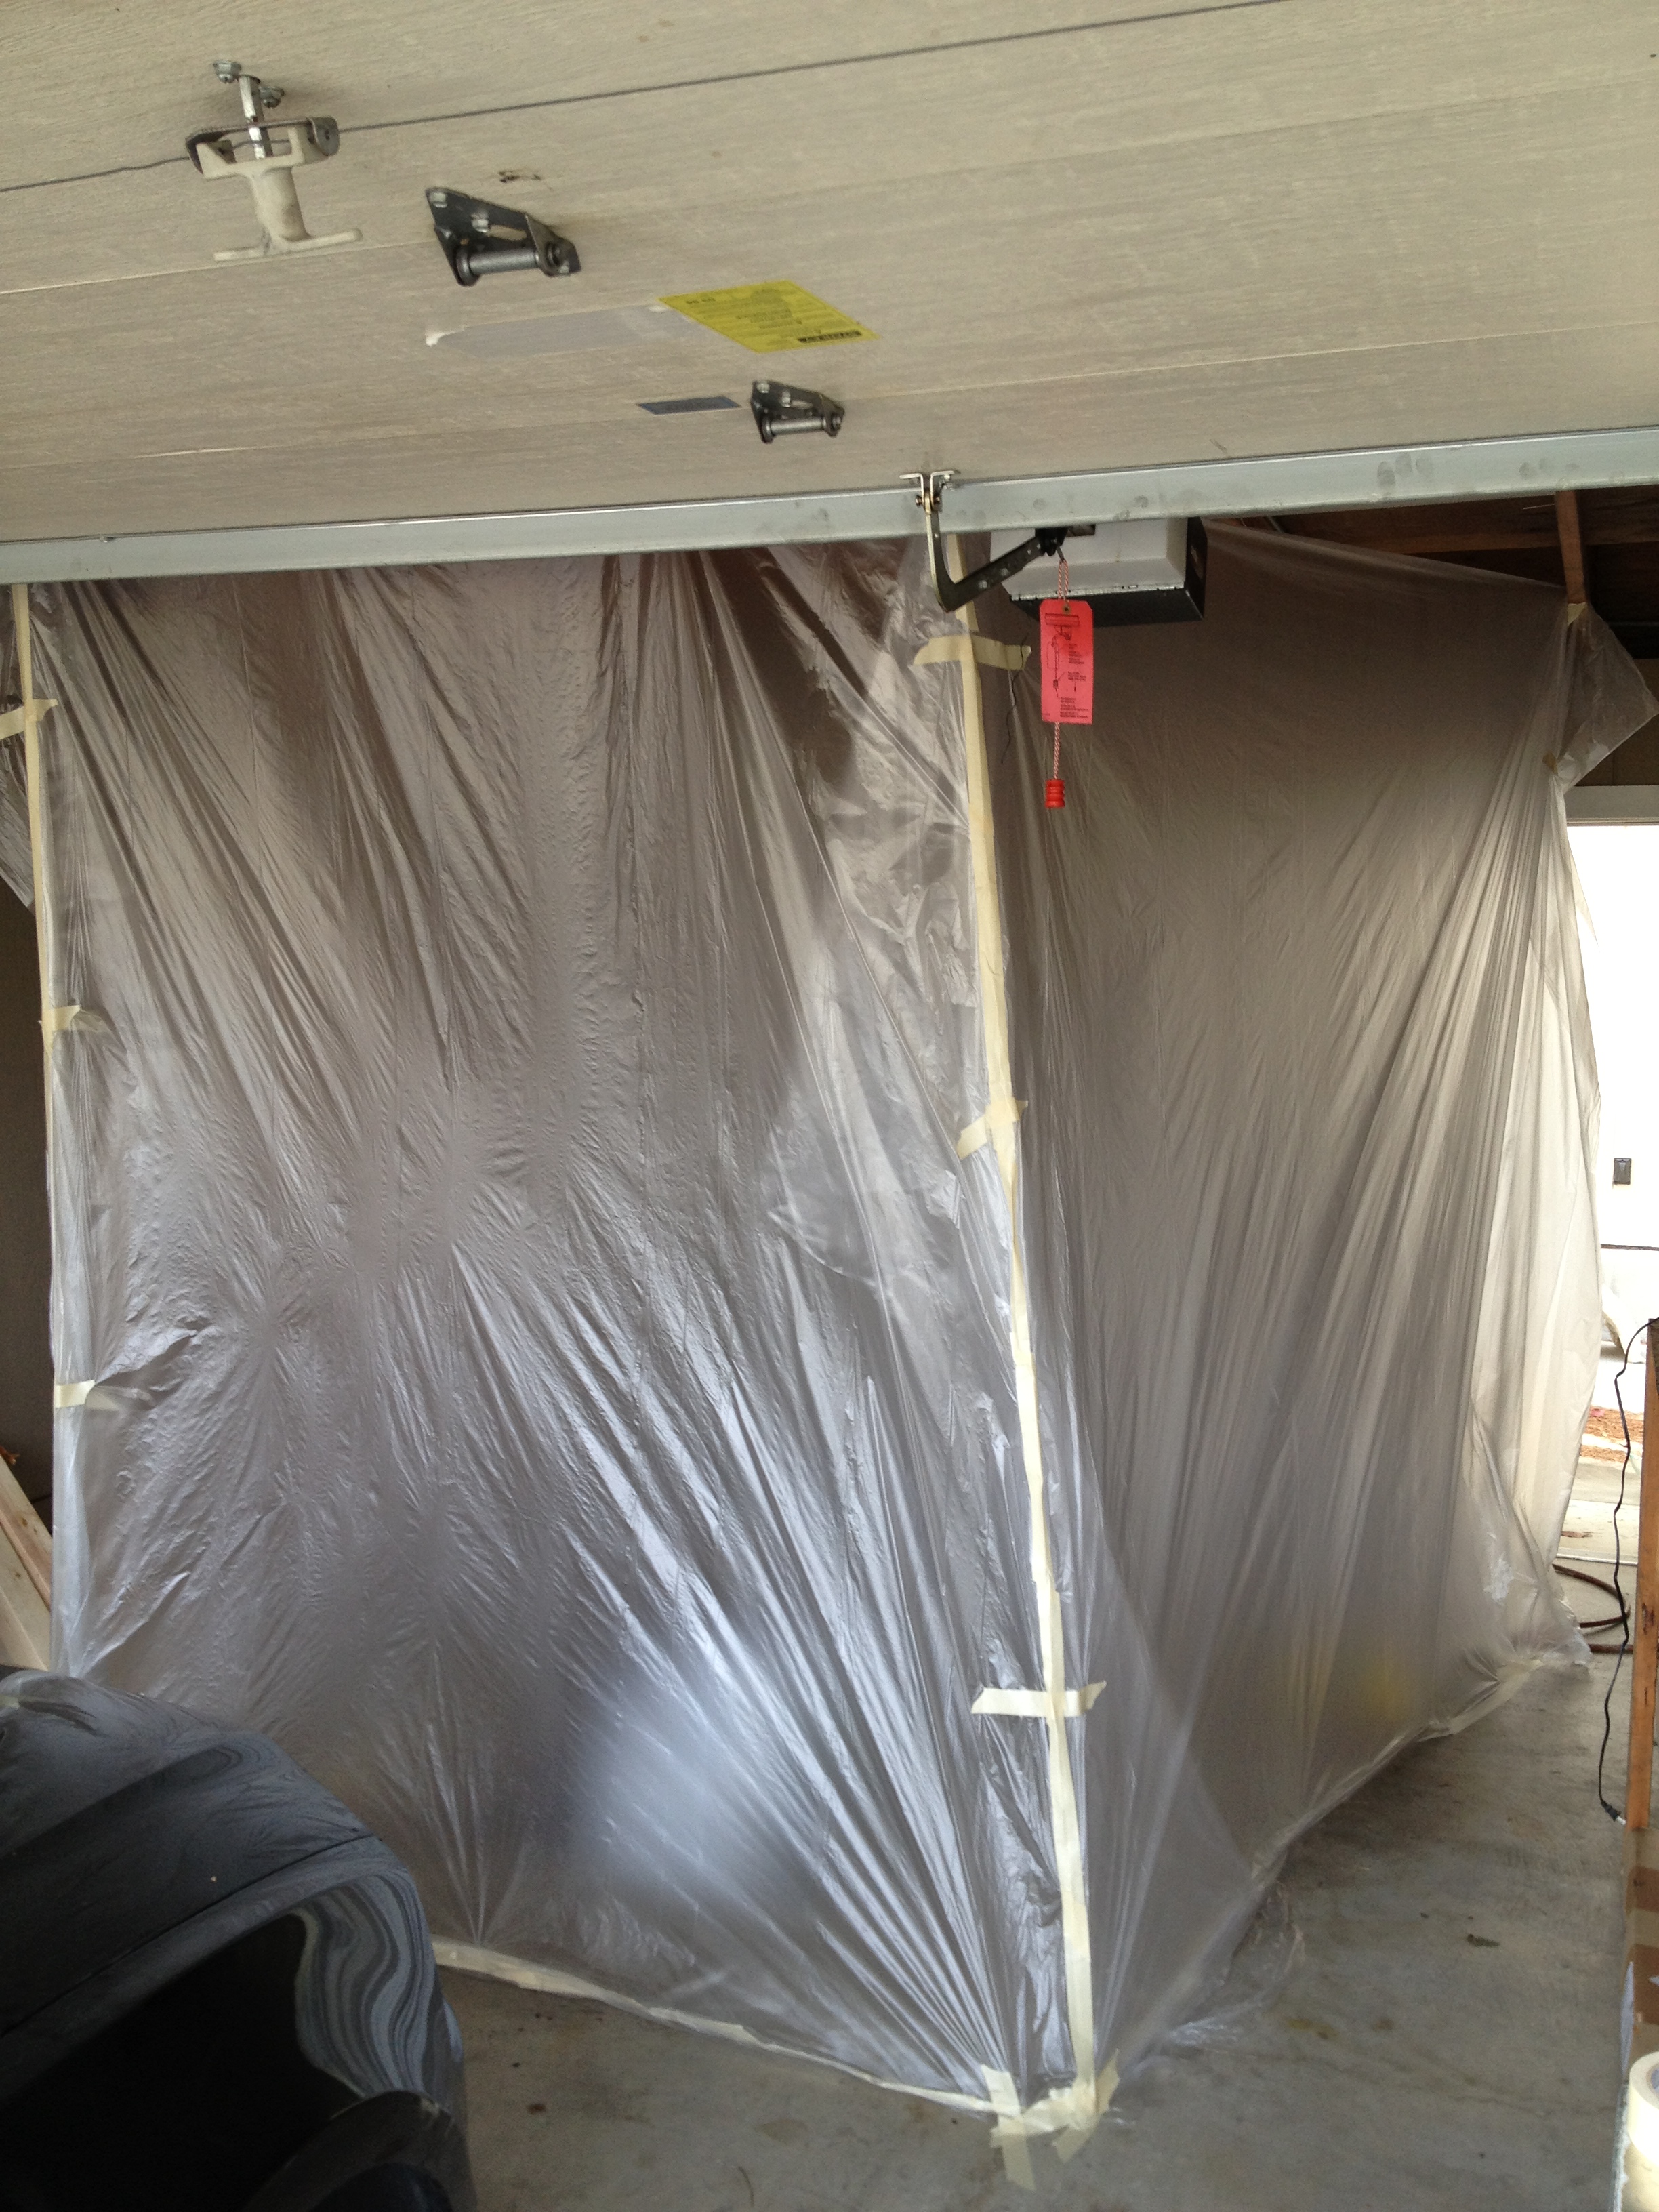
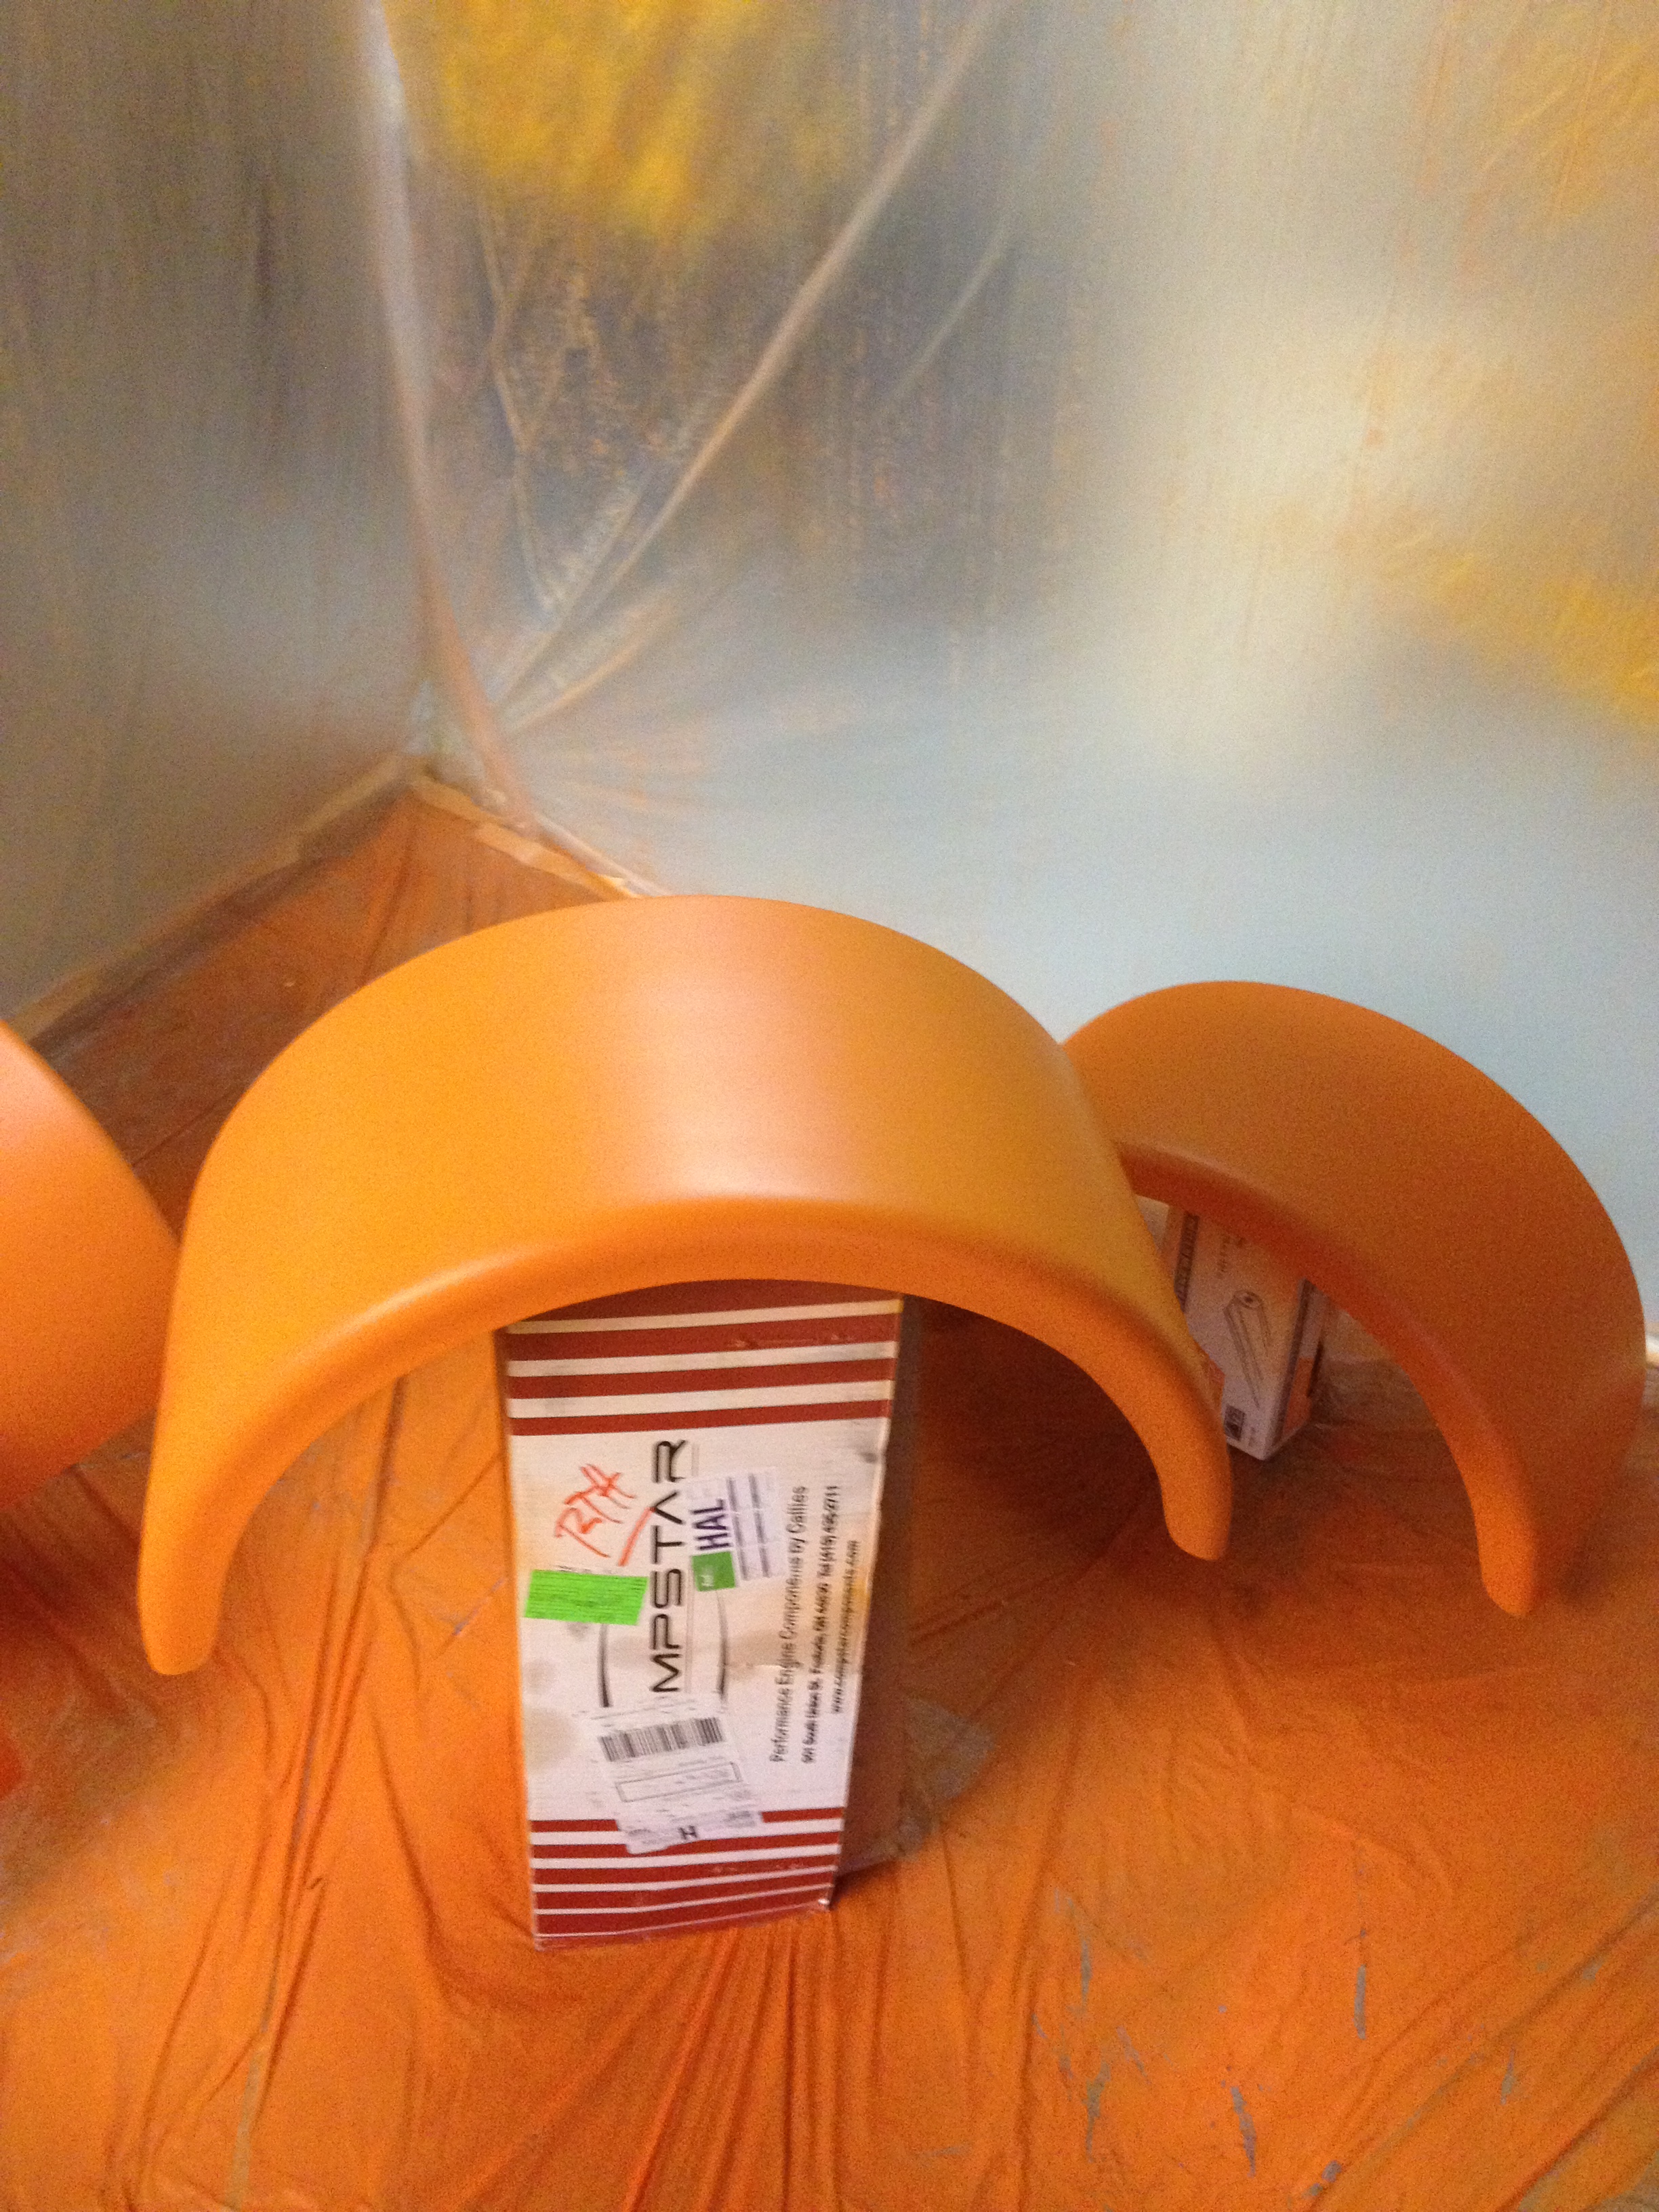
Inside, it ended up looking like a scene from Dexter:

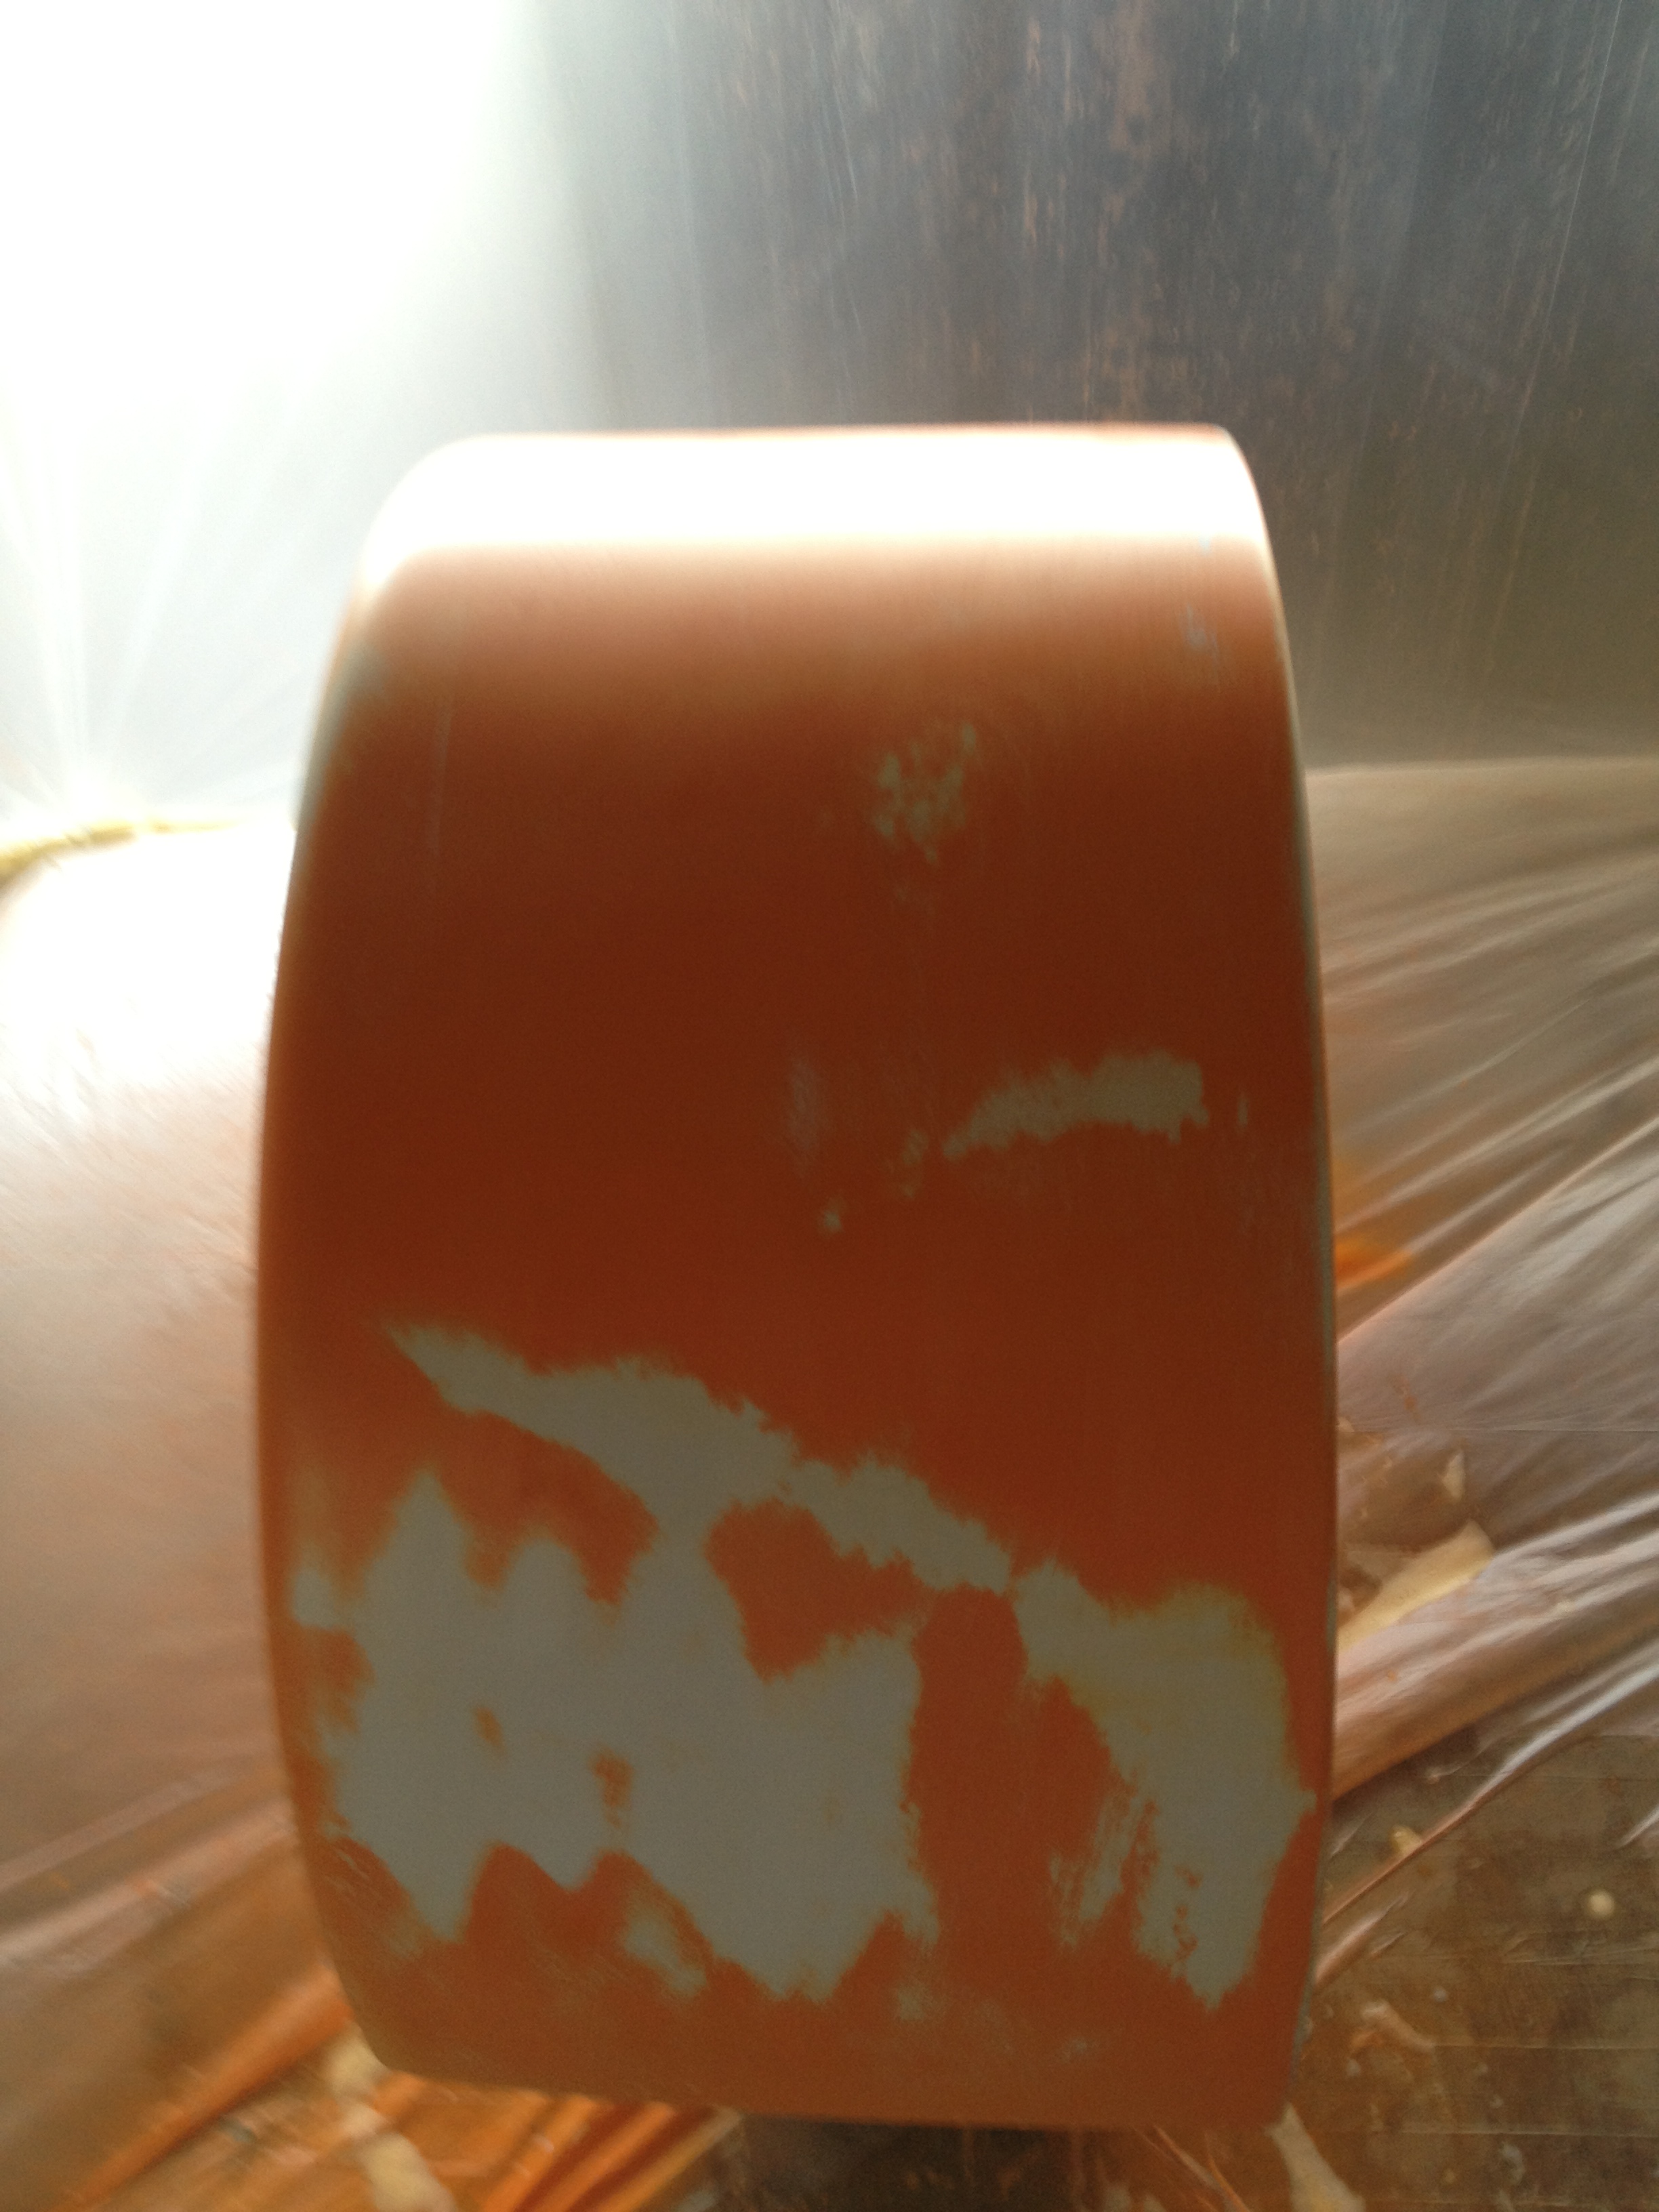
I washed and prepped the surface of the first wheel cover, seen above, by scratching the existing sealer finish with a wet scotch-brite pad, and then dried it off. I then thinned the base/color paint, and set the spray gun up to spray the relatively thin paint on. The first attempt did not go so well, apparently the sealer on all the fiberglass parts is a lot tougher than I expected. You can see in this picture how the paint pulls back from some areas, and pools up in others.

Seeing this, I decided to re-prep this particular panel. I scrubbed it again to remove any still-wet paint, and then sanded it lightly with wet 600 grit sandpaper. Once the surface was smooth again, I once again scratched it up using a scotch-brite pad, this time with a bit more force. Once finished, I wiped the whole thing down with a tack cloth to remove any remaining dust or paint particles, and was ready to try painting again.
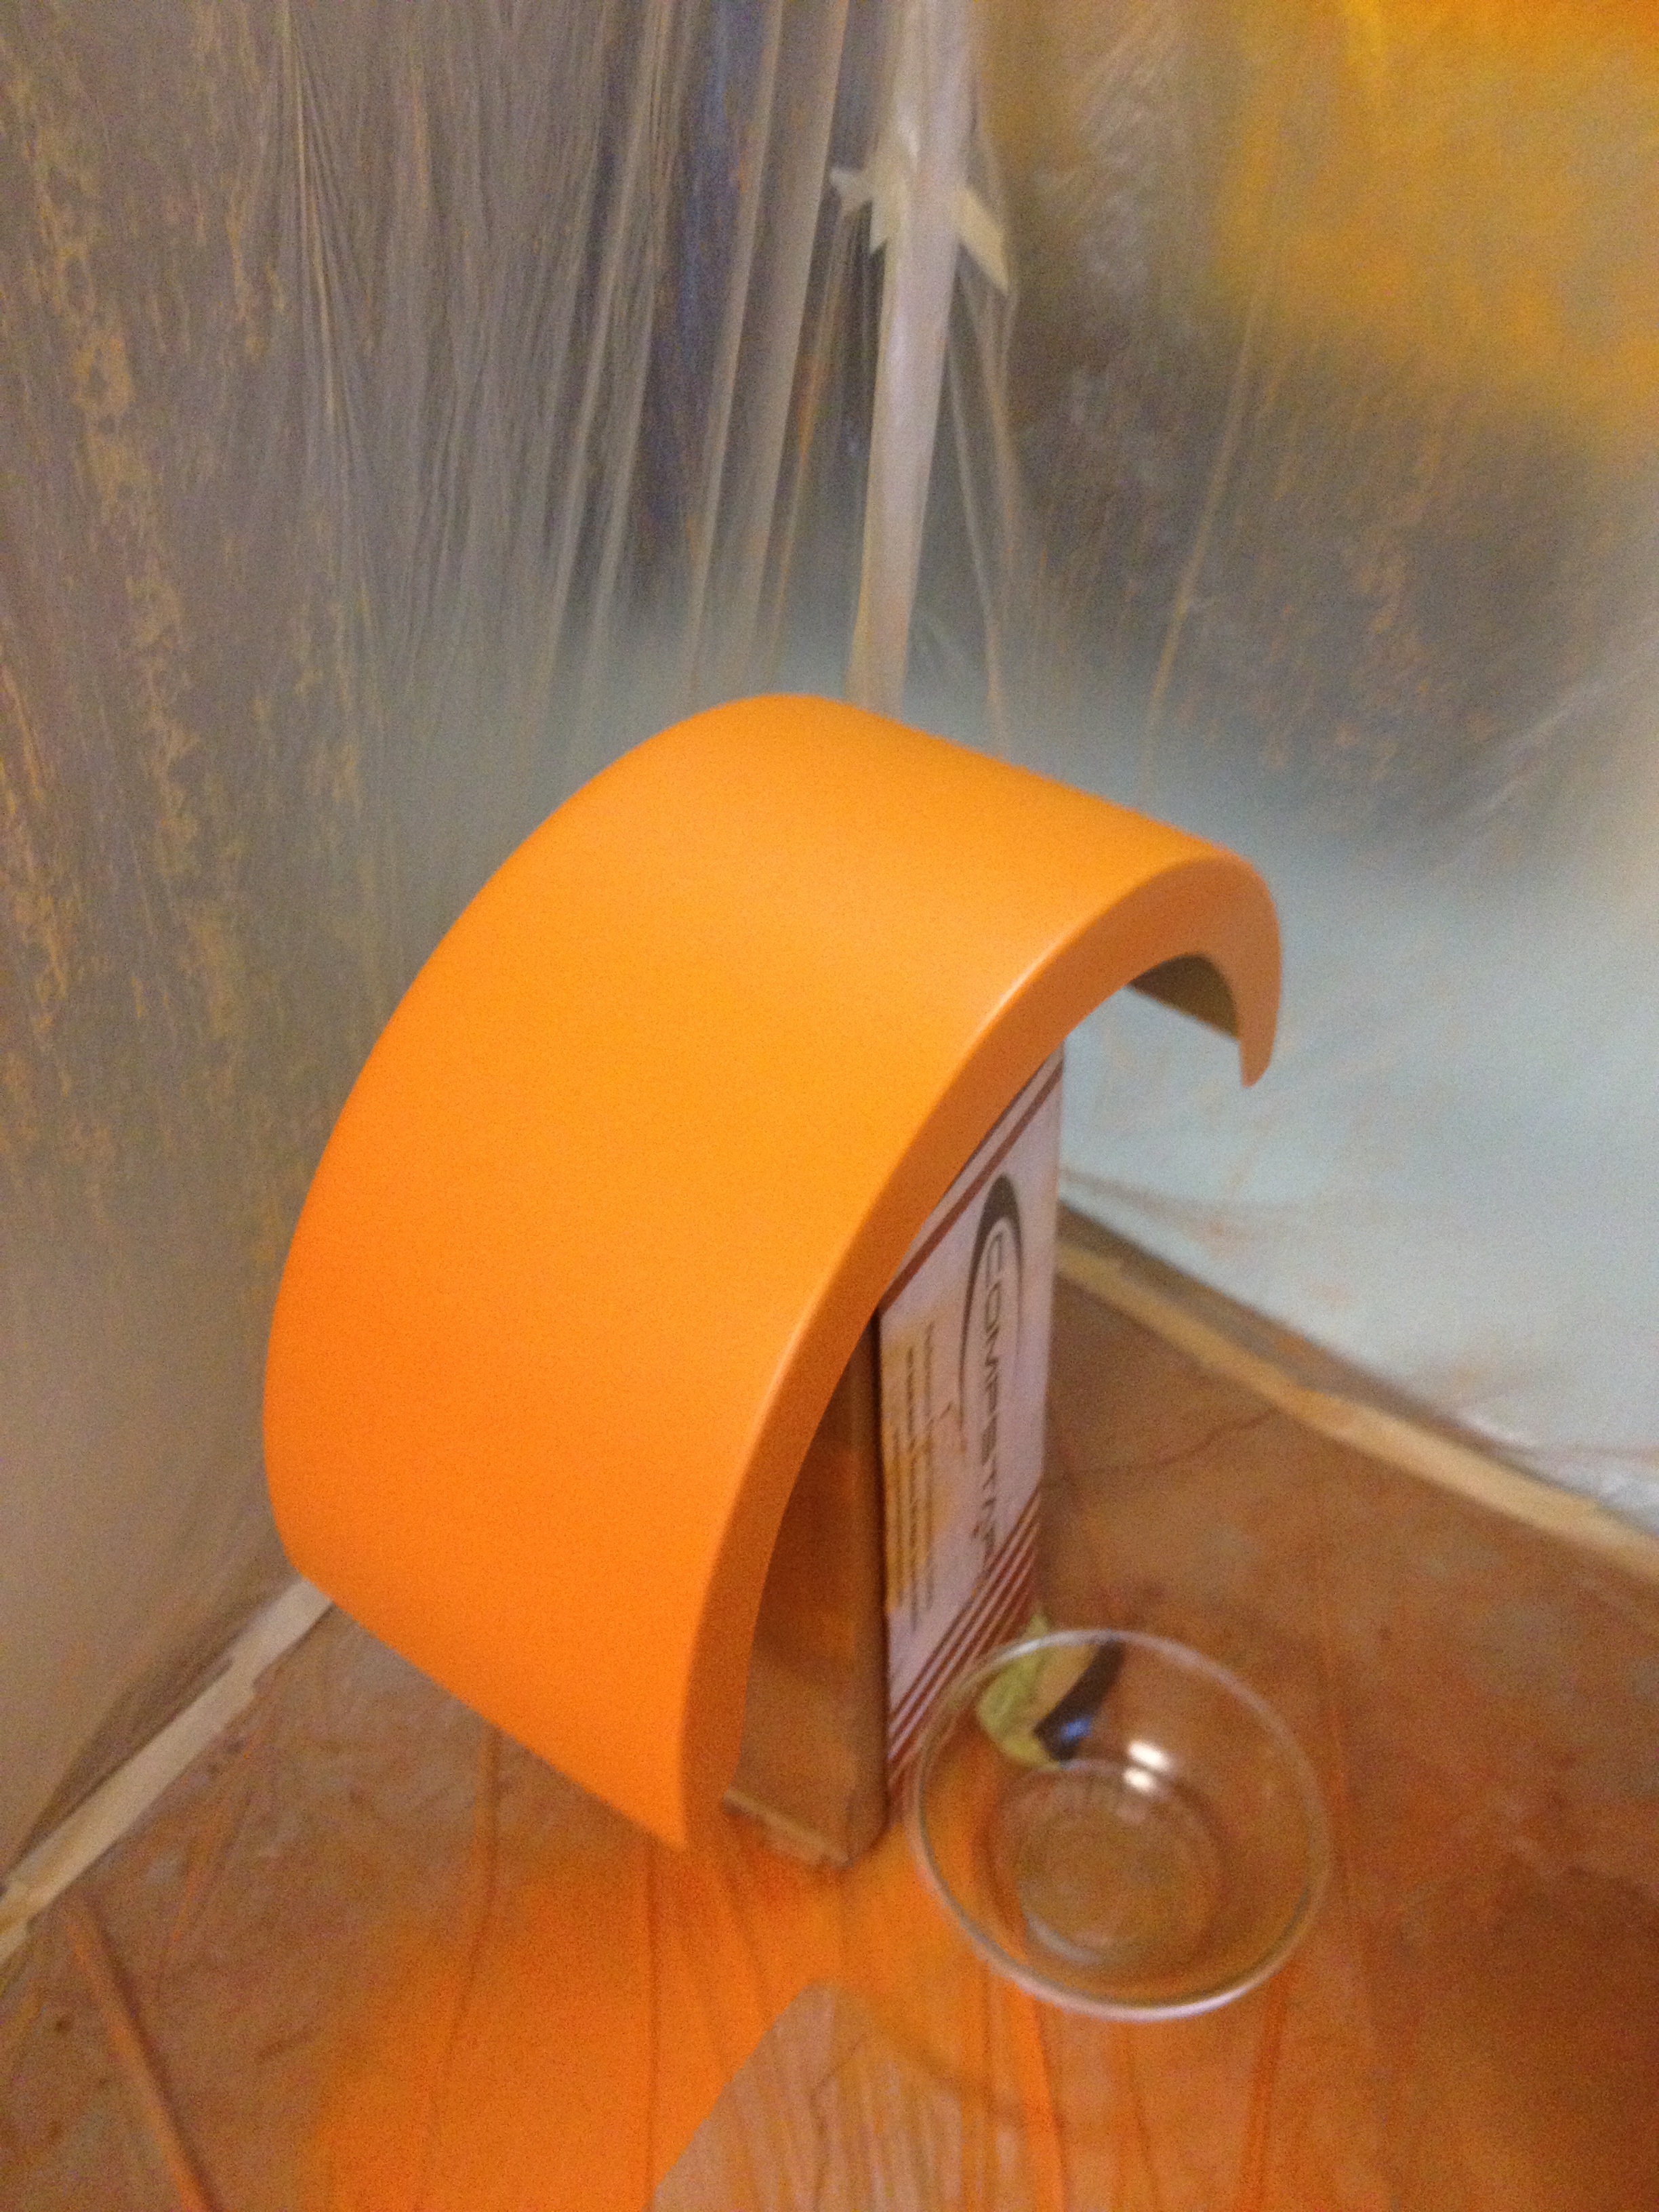
This prep was far better than previously, and after a few coats this panel’s base color layer turned out quite well, despite me still learning how to spray effectively.
I did still end up with one low spot and one run near the shoulder, and so I got ready to wet sand that area a bit once it had dried enough. In the mean time, I prepped the remaining 3 wheel cover/fender panels, and mixed more of the orange paint. From this point, the color layer went fairly quickly, with only one more paint run on the second panel I sprayed, and the last two coming out as well as I could’ve hoped for.
Once every panel was ready for the final coat, I spent a few minutes cleaning up the two problem areas with wet 600 grit sandpaper on a block. Once the paint was smooth again, and without going all the way through, I ran a tack cloth over those two panels and gave the sanded areas a very light coat of paint to finish them up.
Now I had to let the base coat dry a bit, clean the spray gun, mix the clear coat with it’s activator, and prepare to spray 2 coats of clear on each panel. The inside of the garage was getting quite hazy by now, and the temperature was dropping as the humidity was rising, making it more and more difficult to properly spray the clear coat. I ended up having some issues with “orange peel” on the final clear coat, and will need to work on cleaning that up once all the paint has had a chance to cure/dry at least 24 hours. I should be able to clean it up using wet 2000 grit sandpaper on a block to knock down the higher areas, without needing to apply any more clear coat.
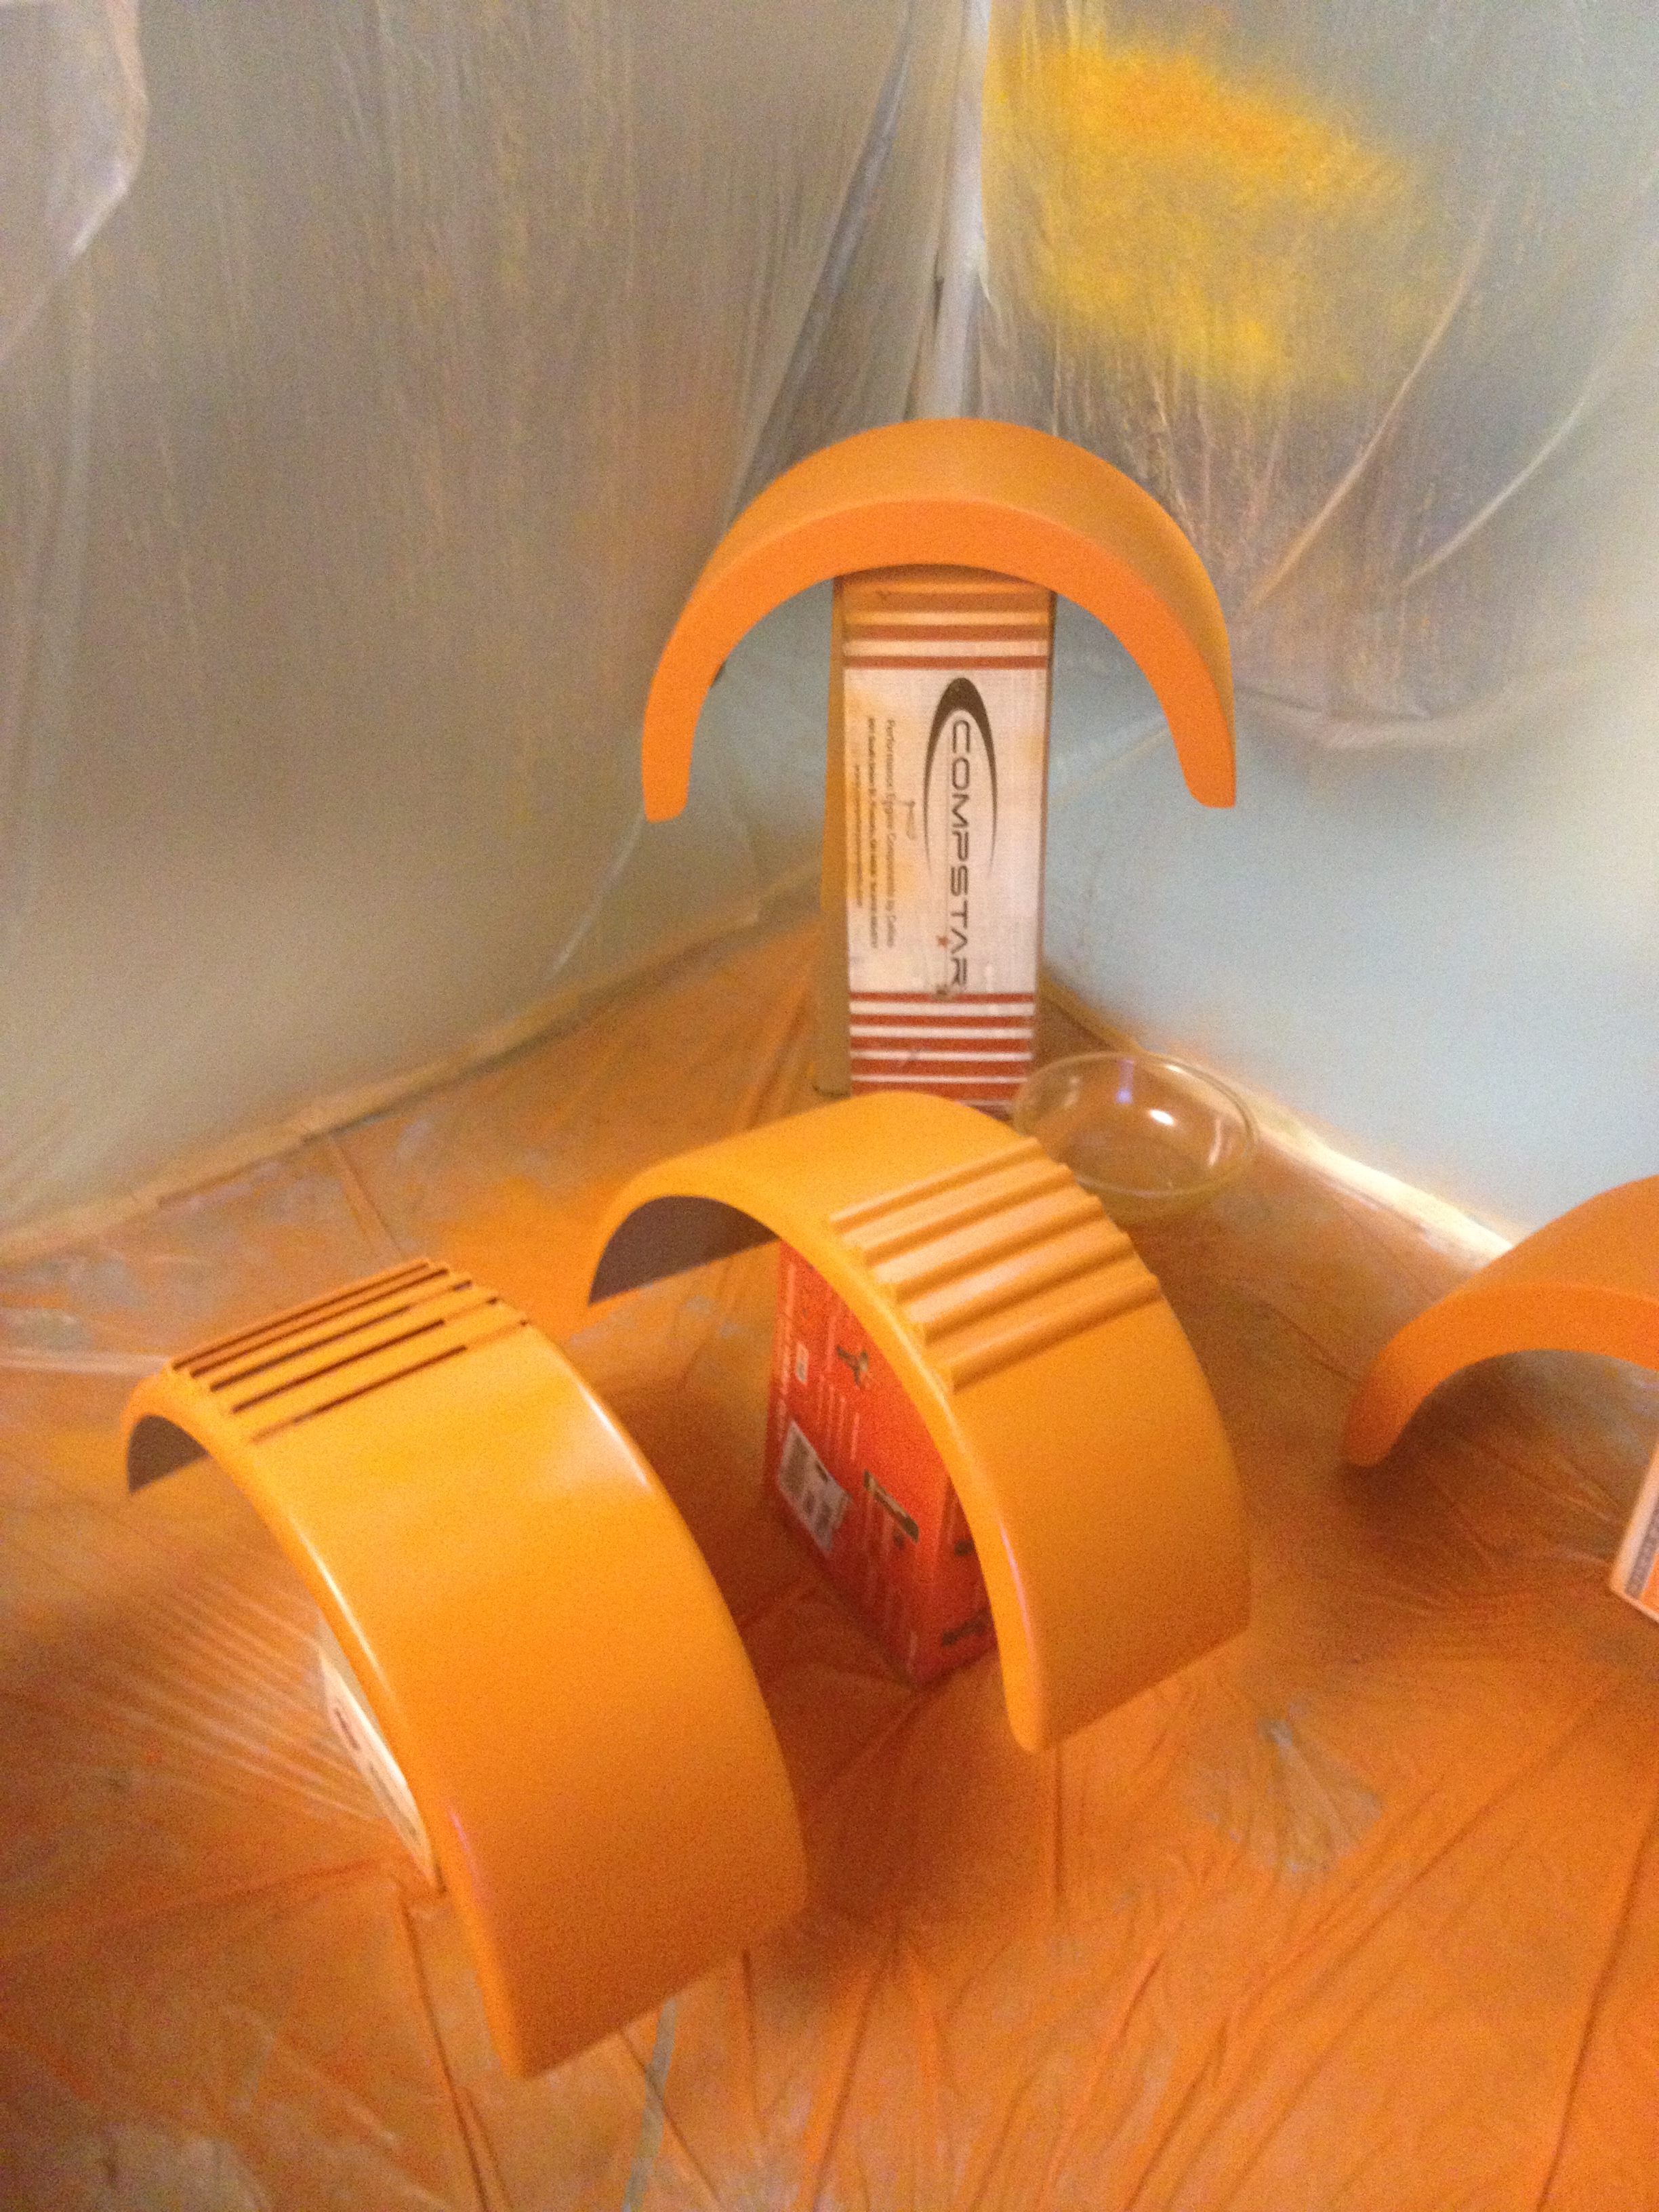
I’m pretty happy with the final result:
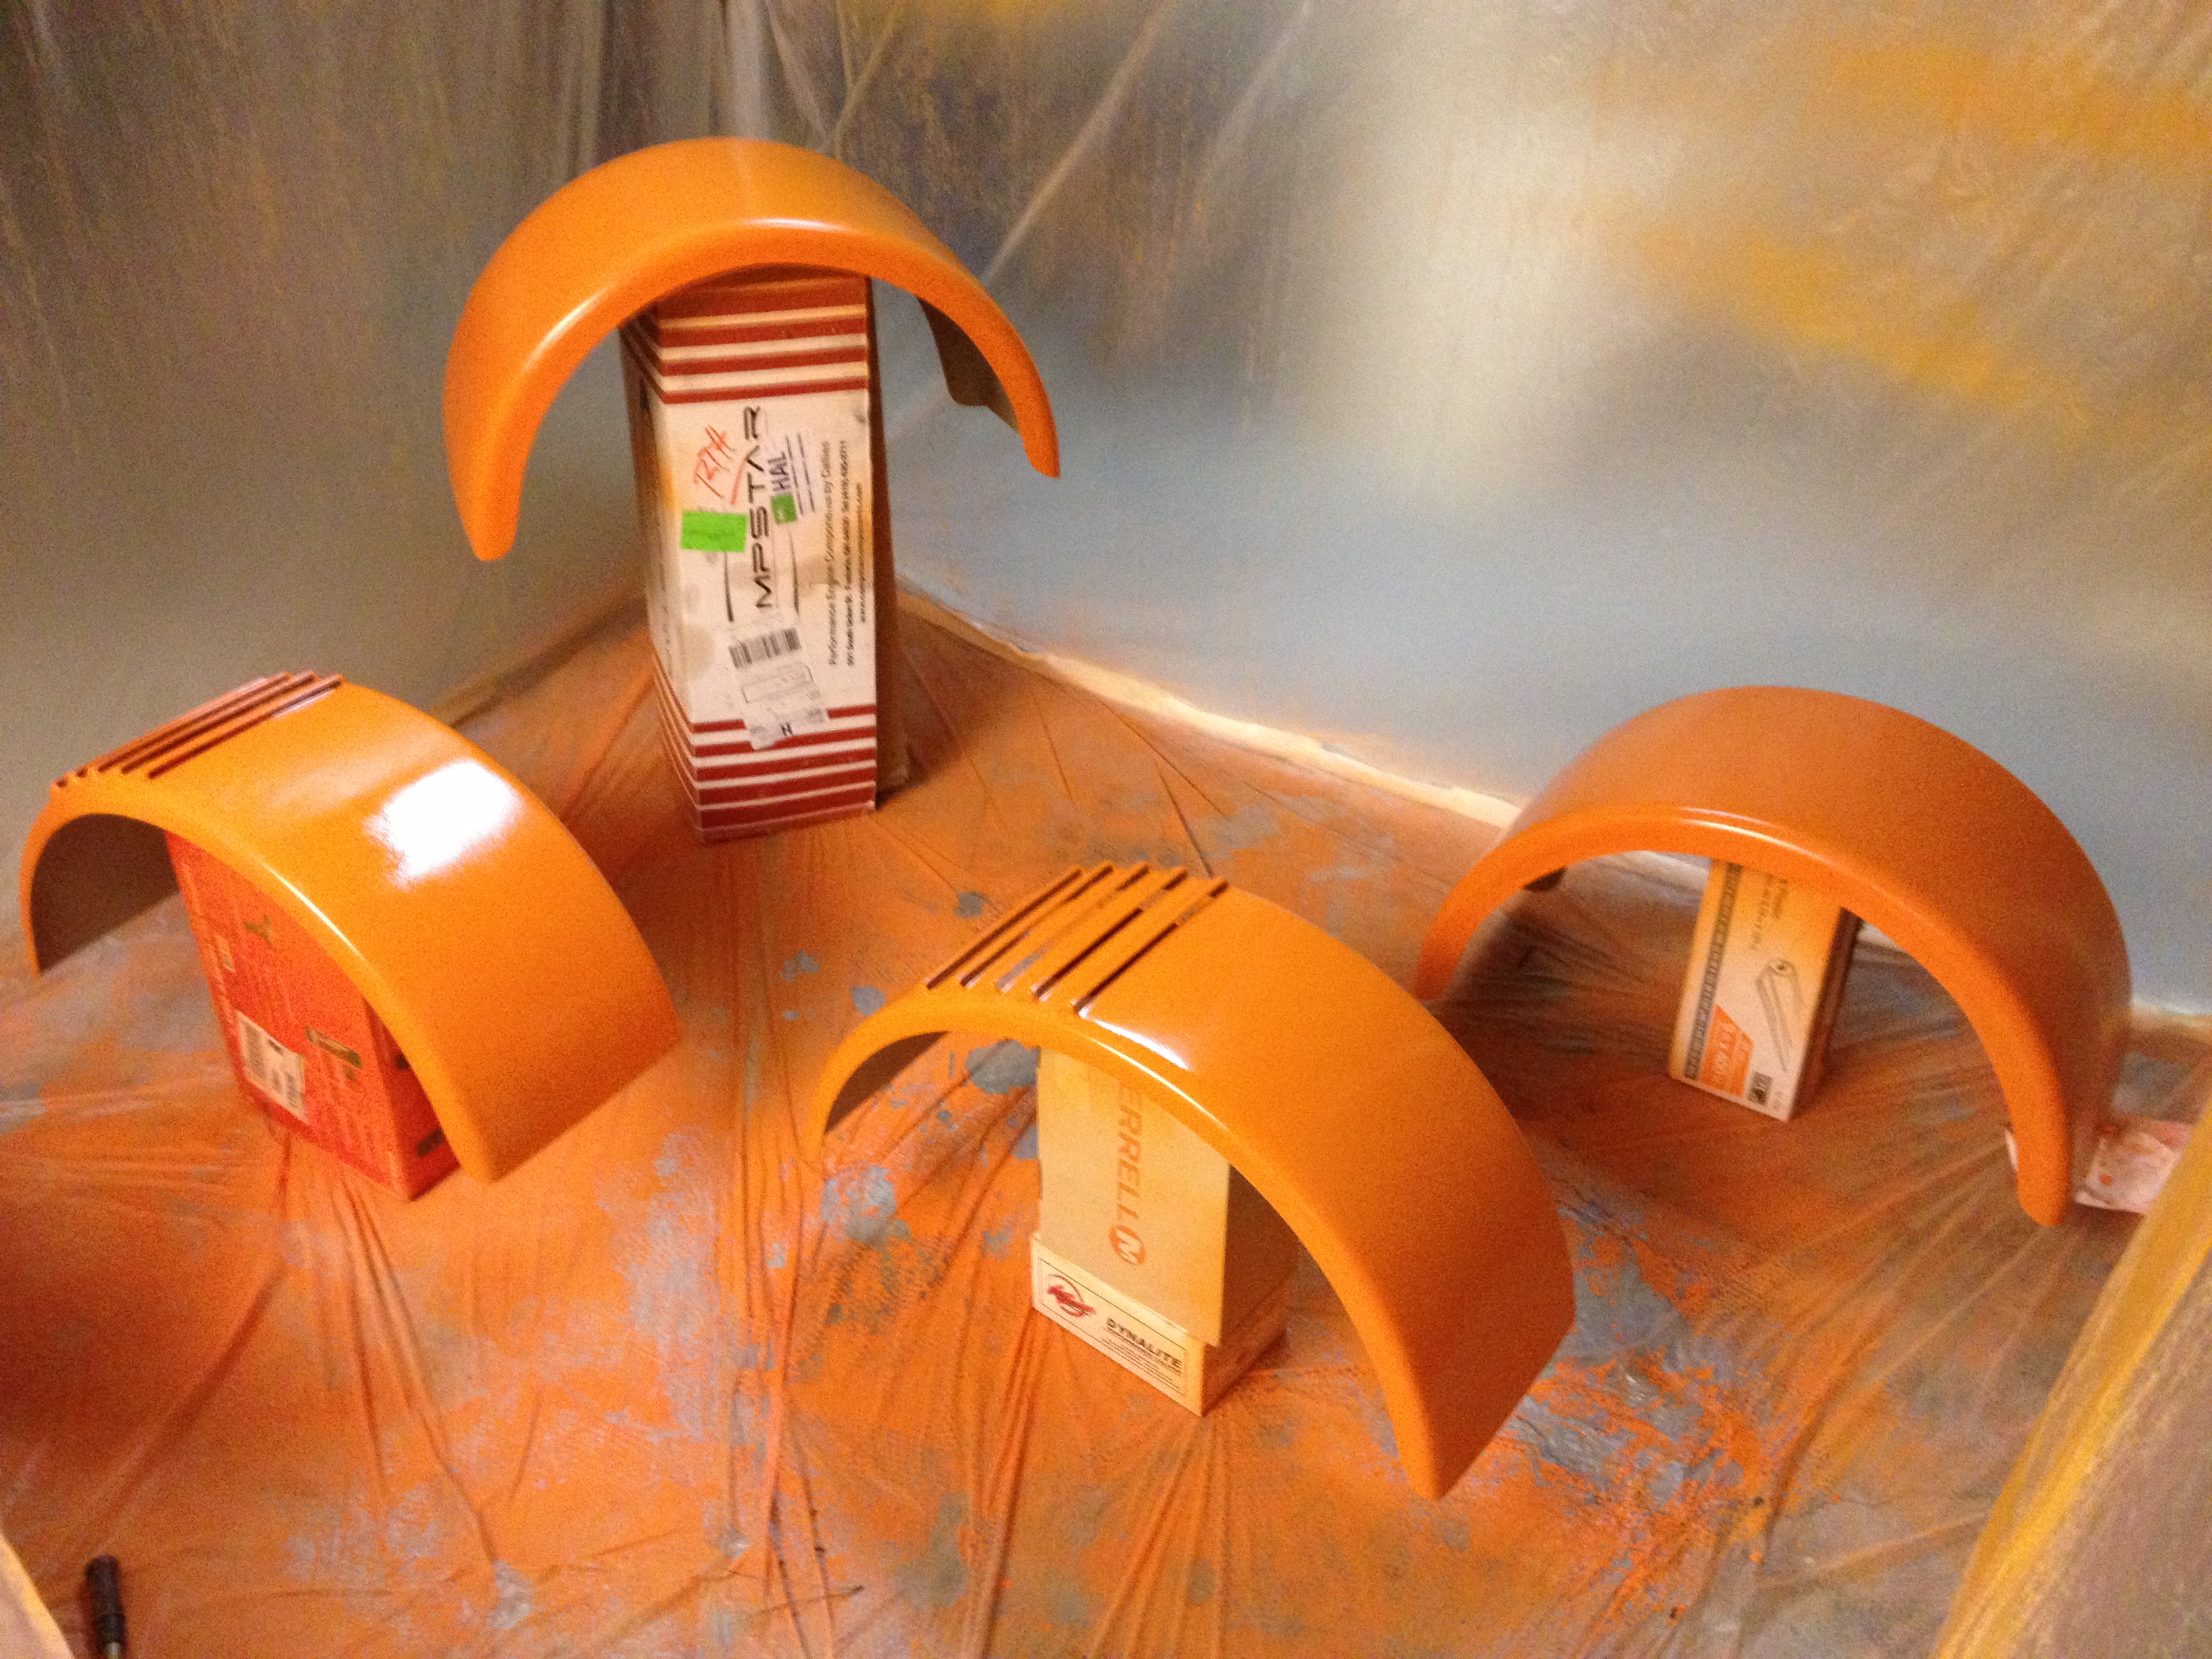
They turned out better than I expected for my first time trying. Three of the panels are slightly damaged from shipping, but I expect they will take more abuse while I continue to build the car and during the initial test drives. Once the car is running reliably, I plan to sand all the panels down, patch up any fiberglass damage, and re-paint them.
It ended up being a very long day, almost 8 hours of solid paint work when I expected to be done in 4. This is definitely something I want to continue working on, and getting better at, since I ended up enjoying it quite a bit. I also took a jumpsuit/face mask selfie before getting started:

And once I was able to remove the mask, I was extremely glad I had had it on the whole time:
In other news, most of the remaining engine parts are with UPS right now, and I expect them all to have arrived by the middle of next week. I’m excited to get the engine to a very nearly runnable point, and first start up shouldn’t be too far off now!

Okay, so I’m totally impressed! I just read all of your posts and find it very fasinating. I would not know where to begin to build a motor, let alone an entire car. I plan to keep up with your progress, so keep posting 🙂 How much horsepower are you looking at? Do you plan to race this buggy? Keep up the great work!
Uncle Ron
aka RC